You stand in your backyard, envisioning the oasis a concrete pool could provide. But where to begin? From meticulous planning to the final touches, each step in the installation process holds crucial importance. Picture the first shovel breaking ground, marking the inception of your personal retreat. As you navigate the intricacies of plumbing, steel reinforcement, and concrete pouring, remember that attention to detail is key. Stay tuned to unravel the essential tips and tricks to ensure your concrete pool becomes the backyard haven you’ve always dreamed of.
Key Takeaways
- Plan pool size, shape, and features carefully.
- Obtain necessary permits from local municipality.
- Excavate site, level, and compact for stability.
- Install steel reinforcement grid before concrete shell.
- Finish with filtration setup, tiling, coping, and landscaping.
Planning and Permits
When embarking on the installation of a concrete pool, it’s crucial to prioritize thorough planning and obtaining the necessary permits.
Planning is key to ensuring that the pool meets your needs and fits seamlessly into your backyard. Begin by considering the pool’s size, shape, depth, and any additional features you desire. Evaluate your backyard space to determine the best location for the pool, taking into account factors like sunlight exposure, access to utilities, and local building codes.
Obtaining permits is a crucial step in the process. Contact your local municipality to inquire about the specific permits required for installing a pool.
These permits typically include construction permits, zoning permits, and possibly electrical or plumbing permits. Failing to secure the necessary permits can result in costly fines or even having to remove the pool altogether.
Excavation and Site Preparation
To kick off the installation process for your concrete pool, the initial step involves excavation and site preparation.
Before beginning the excavation, make sure to have a clear understanding of the layout and design of your pool. Use spray paint or markers to outline the shape and dimensions on the ground.
Next, heavy machinery like excavators will be brought in to dig out the area to the required depth and shape. The soil and debris will be removed from the site to prepare for the next steps of the installation.
During the excavation process, it’s crucial to consider any potential obstacles such as tree roots, rocks, or utility lines that may need to be addressed before proceeding. Additionally, proper drainage must be accounted for to avoid water accumulation around the pool area.
Once the excavation is complete, the site will be leveled and compacted to create a stable base for the pool structure.
This step sets the foundation for a successful concrete pool installation, ensuring a durable and long-lasting backyard oasis.
Plumbing and Electrical Setup
Before moving forward with the concrete pool installation, it’s imperative to address the plumbing and electrical setup. Ensuring proper plumbing connections and electrical wiring is crucial for the functionality and safety of your pool.
Start by hiring a licensed professional to handle the plumbing work. They’ll set up the necessary pipes for water circulation, filtration, and drainage. Properly installed plumbing will prevent leaks and ensure efficient water flow.
Next, consult with an electrician to handle the electrical setup. The electrician will install the required wiring for pool lights, pumps, and any other electrical components.
Safety is paramount when dealing with water and electricity, so it’s essential to have this done by a professional to avoid hazards.
Steel Reinforcement Installation
To ensure the structural integrity of your concrete pool, the steel reinforcement installation plays a critical role. Before pouring the concrete, the steel rebar grid must be meticulously placed to provide strength and support to the pool structure.
Begin by laying out the rebar in a crisscross pattern, ensuring that it covers all areas where the concrete will be poured. Use wire ties to secure the intersections and keep the rebar grid in place.
Pay close attention to the spacing and size of the rebar, following the specific guidelines provided by your pool design or engineer. This step is crucial in preventing cracks and ensuring the durability of your pool over time.
Additionally, make sure that the rebar is lifted off the ground to allow the concrete to fully encapsulate it, providing maximum reinforcement.
Once the rebar grid is securely in place, you’re ready to move on to the next step of the pool construction process: the concrete shell construction.
Concrete Shell Construction
With the steel reinforcement installation complete, it’s time to dive into the concrete shell construction phase of your pool project. This crucial step involves spraying or pouring concrete into the excavated area to form the shell of your pool. The concrete is usually a mix of cement, sand, gravel, and water that’s carefully applied to create a strong and durable structure.
During the concrete shell construction, it’s essential to ensure that the surface is smooth and level to prevent any imperfections in the final pool. The thickness of the concrete shell will depend on the size and shape of your pool, with thicker sections often required for areas that will bear more weight, such as the walls and floor.
Proper curing of the concrete is vital to allow it to reach its maximum strength and durability. This process may involve covering the concrete with wet burlap or plastic sheeting to retain moisture and heat, aiding in the curing process.
Once the concrete shell is fully cured, you’ll be one step closer to enjoying your new concrete pool.
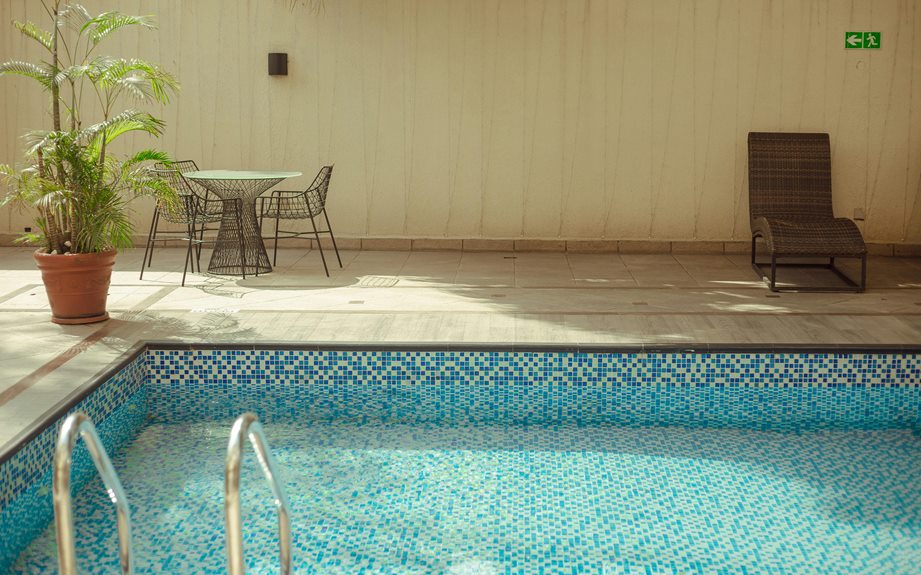
Tile and Coping Installation
For the “Tile and Coping Installation” phase of your concrete pool project, precise and meticulous work is essential to achieve a polished and functional pool surface. This step involves carefully placing tiles and coping around the perimeter of your pool to create a seamless and visually appealing finish. Here are some key considerations for this phase:
| Consideration | Description | Tips |
|---|---|---|
| Tile Selection | Choose durable and slip-resistant tiles that complement your design. | Opt for high-quality materials for longevity. |
| Coping Design | Select coping that enhances the aesthetics and provides a safe edge. | Ensure proper installation to prevent water seepage. |
| Grout Application | Use a waterproof grout to secure tiles and prevent water infiltration. | Seal grout regularly for maintenance and longevity. |
| Alignment and Leveling | Ensure tiles and coping are aligned and leveled for a professional look. | Use spacers and a level during installation. |
| Sealing and Finishing | Apply a sealant to protect the tiles and coping from stains and damage. | Follow manufacturer’s instructions for best results. |
Filtration System Setup
Upon reaching the “Filtration System Setup” phase of your concrete pool installation, you’re entering a crucial stage that directly impacts the cleanliness and maintenance of your pool.
Follow these steps to ensure a proper setup:
- Placement: Position the filtration system in a convenient location that allows easy access for maintenance.
- Connection: Connect the pump to the filter and the filter to the pool’s return lines, ensuring all connections are secure to prevent leaks.
- Electrical Setup: Install the necessary electrical components, such as the pump motor and any required controllers, following safety guidelines.
- Testing: Prime the pump, start the filtration system, and check for proper water circulation and filtration.
Adjust settings as needed to achieve optimal performance.
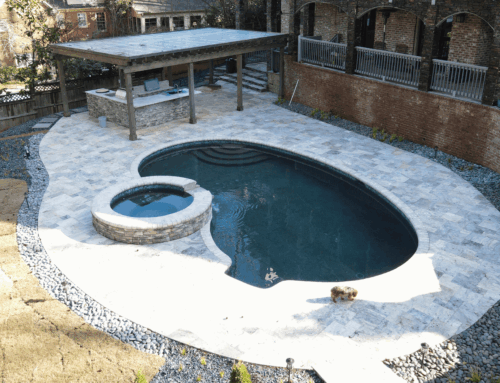
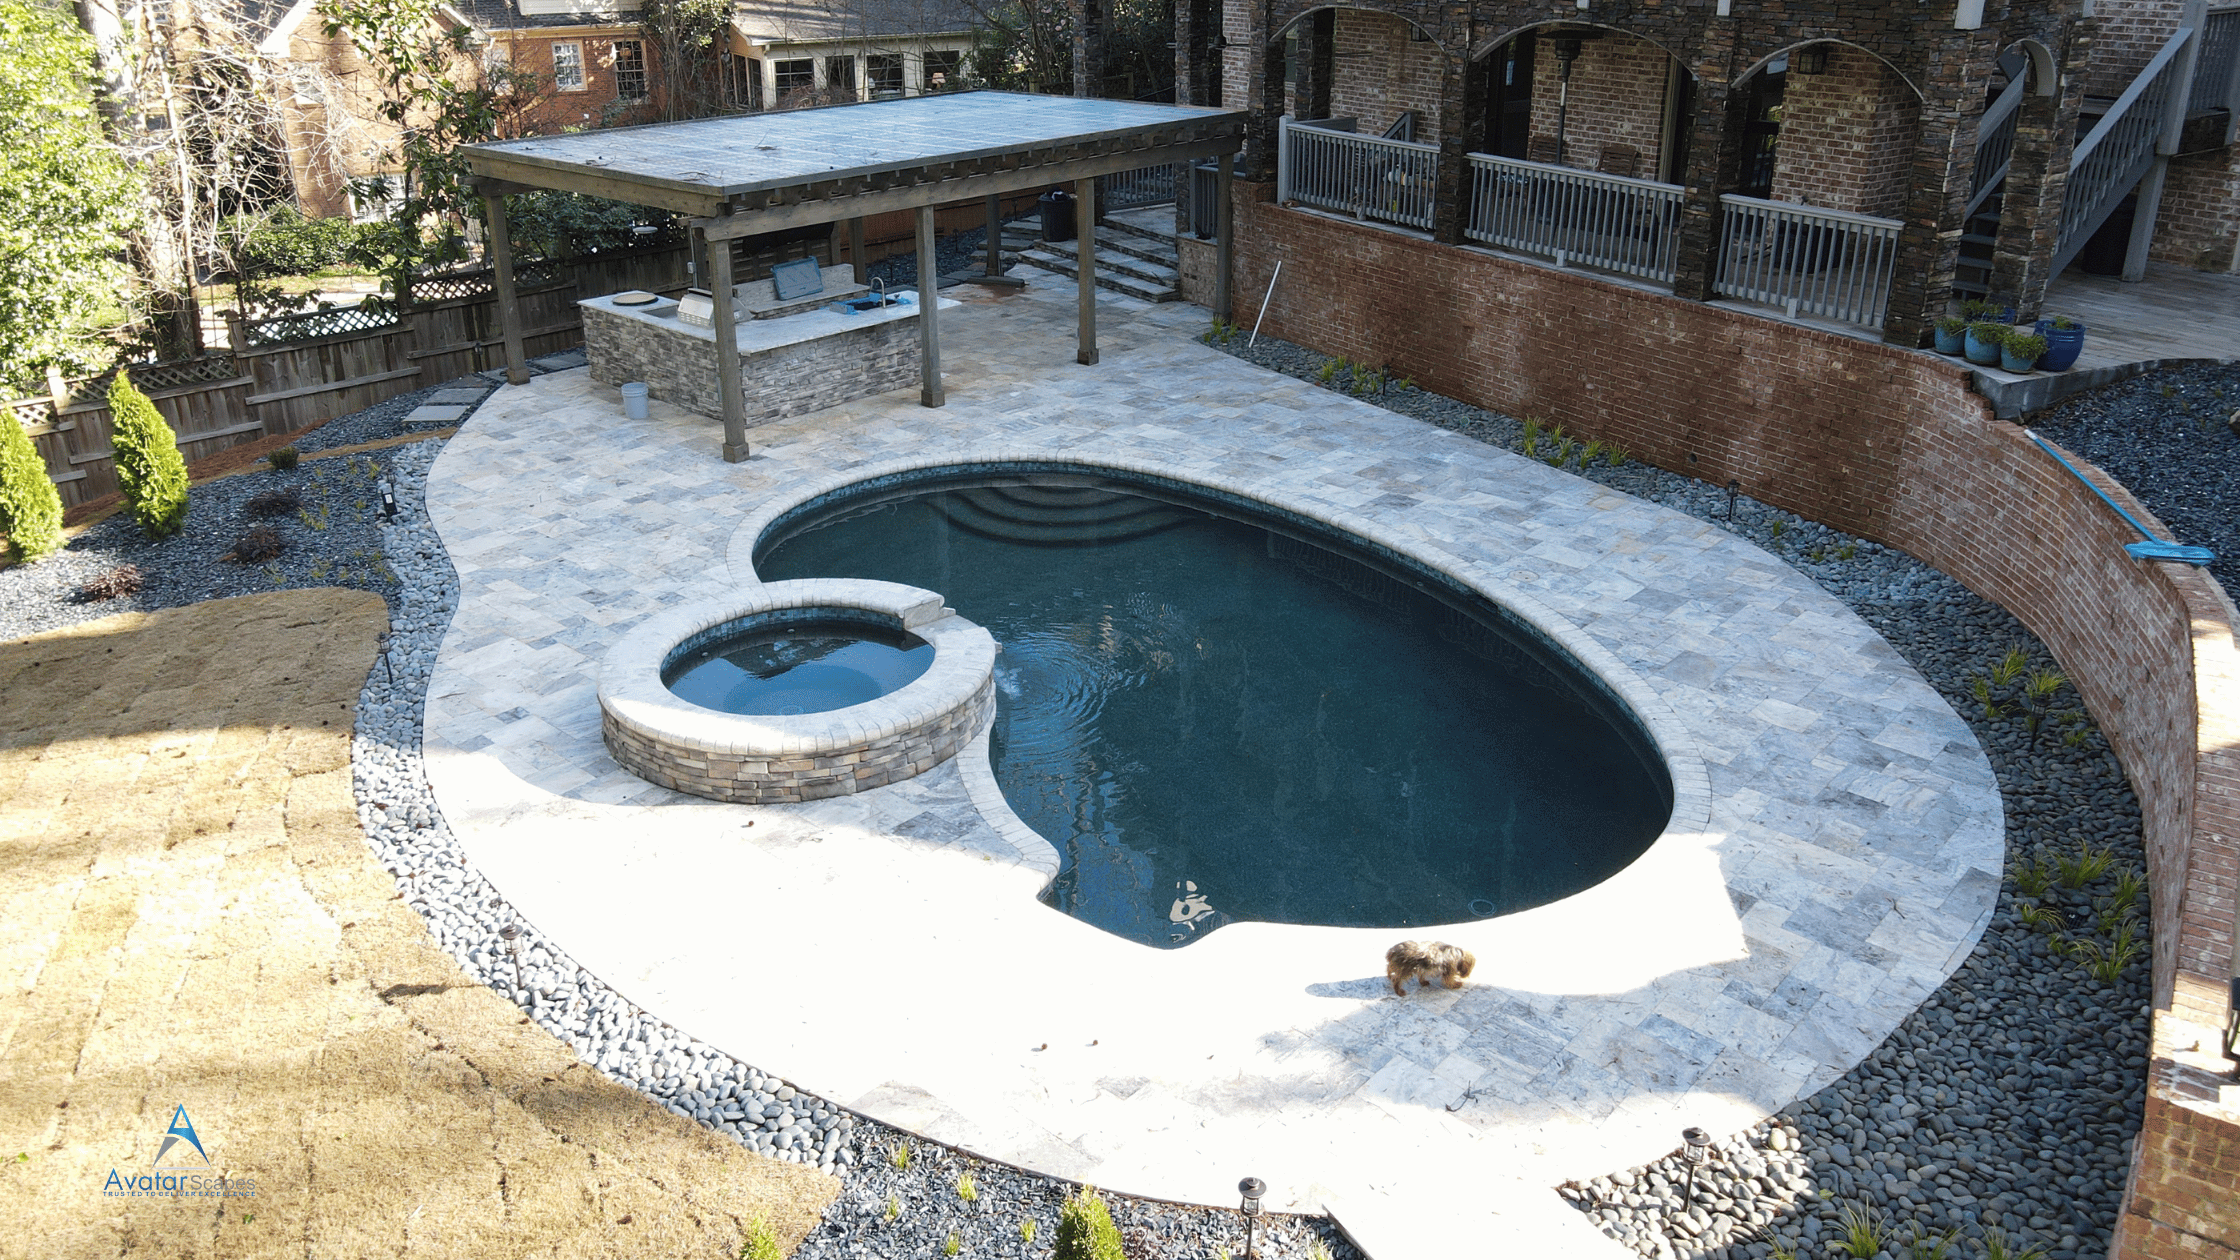
Pool Deck and Landscaping Finishing
Once the filtration system is set up and running smoothly, the focus shifts to the pool deck and landscaping finishing. Your pool deck isn’t just a functional space but also a key design element that ties the entire backyard together.
Consider using materials like concrete, pavers, or natural stone for durability and aesthetics. Ensure that the deck is slip-resistant to prevent accidents.
Landscaping around the pool can enhance its visual appeal and create a relaxing oasis. Choose plants that can thrive in the pool environment, such as tropical palms or succulents.
Adding mulch or rocks around the pool area can help with drainage and reduce maintenance.
To further enhance the ambiance, consider adding lighting fixtures around the pool deck and landscaping. LED lights are energy-efficient and can create a stunning effect at night.
Additionally, installing a fence or barrier around the pool deck is crucial for safety, especially if you have children or pets.
Frequently Asked Questions
How Long Does It Take for the Concrete Pool to Fully Cure?
It typically takes a concrete pool a few weeks to fully cure. During this time, it’s important to avoid putting stress on the pool structure to ensure it cures properly and maintains its integrity.
Can I Install a Heater for My Concrete Pool Later On?
Yes, you can install a heater for your concrete pool later on. It’s a great way to extend your swimming season and enjoy the pool during cooler months. Consider consulting a professional for installation options.
What Maintenance Is Required for a Newly Installed Concrete Pool?
To maintain a newly installed concrete pool, regularly check water chemistry, clean debris, and inspect equipment. Monitor water levels, brush walls, and vacuum as needed. Keep filters clean and maintain proper circulation. Consider professional servicing for complex issues.
Is It Possible to Add a Diving Board to a Concrete Pool?
Yes, you can add a diving board to a concrete pool. Ensure the pool is designed and constructed to support the weight and impact of a diving board. Seek professional advice for proper installation and safety measures.
Can I Change the Shape of My Concrete Pool After It’s Installed?
Yes, you can change the shape of your concrete pool after it’s installed, but it can be a complex and expensive process. Consider consulting with a professional to ensure the alterations are done correctly.
Conclusion
Now that you have completed the installation of your concrete pool, remember to regularly maintain and care for it to ensure its longevity and enjoyment. Keep up with cleaning, water testing, and maintenance tasks to keep your pool in top condition for years to come. Enjoy your new backyard oasis!